#1,149 – Drawing an Arc in a Custom Shape
September 2, 2014 Leave a comment
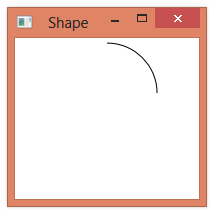
We can use a StreamGeometryContext to render some geometry in a custom Shape element that we can then use in XAML. Below is an example that draws a simple arc from 0 degress to 90 degrees. It uses a PolarPoint class to allow describing the arc start and finish as polar coordinates. (A future post will allow a user to specify arc start and end).
    public class Arc : Shape
    {
        protected override Geometry DefiningGeometry
        {
            get
            {
                double maxWidth = RenderSize.Width;
                double maxHeight = RenderSize.Height;
                double maxRadius = Math.Min(maxWidth, maxHeight) / 2.0;

                PolarPoint arcStart = new PolarPoint(maxRadius, 0.0);
                PolarPoint arcFinish = new PolarPoint(maxRadius, 90.0);

                StreamGeometry geom = new StreamGeometry();
                using (StreamGeometryContext ctx = geom.Open())
                {
                    ctx.BeginFigure(
                        new Point((maxWidth / 2.0) + arcStart.X,
                                   (maxHeight / 2.0) - arcStart.Y),
                        false,
                        false);
                    ctx.ArcTo(
                        new Point((maxWidth / 2.0) + arcFinish.X,
                                  (maxHeight / 2.0) - arcFinish.Y),
                        new Size(maxRadius, maxRadius),
                        0.0,     // rotationAngle
                        false,   // greater than 180 deg?
                        SweepDirection.Counterclockwise,
                        true,    // isStroked
                        true);
                }

                return geom;
            }
        }
    }
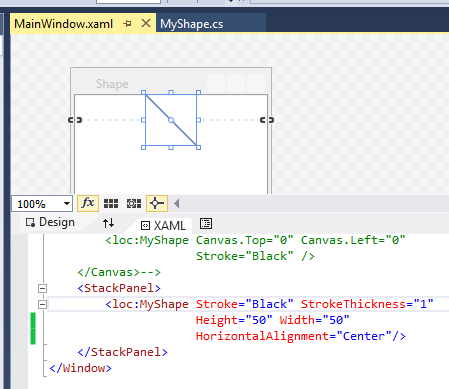
Using the arc:
        <loc:Arc Stroke="Black" StrokeThickness="1"
                 Height="100" Width="100" Margin="5"
                 HorizontalAlignment="Center"/>